Repotting Orchids
Repotting orchids every few years is important for many reasons. If the potting mix has started to decompose, it will retain too much moisture and prevent air getting to the roots, causing root rot. The plant may also have outgrown its pot. It's also a good idea to regularly make sure the root system is healthy and remove any old dead roots. If an orchid is in a plastic pot, it's fairly easy to lift it out of the pot; if its roots are stuck to the pot, just squeeze the pot a few times to loosen them. Then you can lift the entire root system out of the pot to see that it's healthy. If the root system is in bad shape, with lots of mushy, dead roots instead of firm, white, healthy roots, the plant should be repotted. It should probably either go in a more freely-draining potting mix or be given more time to dry out between waterings. Clear plastic pots can make it easier to observe the health of the root system. It's also easy to see the health of the root system for plants grown on slabs. But for plants grown in clay pots, the roots often stick firmly enough to the pot that you can't really inspect them without a fair amount of stress to the plant, so try to get a sense of when the potting medium is breaking down to decide when to repot. Repotting orchids while they are in bloom is generally stressful. It tends to be a good idea to repot orchids while their root systems are actively growing or about to, such as when the plant is starting to produce a new growth.Pot Size
If a sympodial orchid has outgrown its pot, the new growths will be forming right against the rim of the pot, or even over the edge. It's generally a good idea to repot sympodial orchids leaving enough room for 1-2 years' worth of new growth. This may involve repositioning the plant in its current size of pot or moving it to a slightly larger pot size. Monopodial orchids, such as Phalaenopsis and Vanda, seldom need to move to larger pots. If the plant can't fit most of its roots into the pot, go to a larger pot. If the roots aren't fairly thoroughly filling the potting mix, go to a smaller pot. Orchids generally don't like to be overpotted; when in doubt, choose a pot that's too small.Pot Types
The most common type of orchid pot is a plastic pot. To learn about other types of orchid pots, see the orchid pots page. Some common ones include net pots and teak baskets, epiphytes mounted on slabs of bark, and clay pots.Orchid Potting Mix
There are a number of commercially-prepared orchid potting mixes to use when repotting orchids, or you can make your own. Basic potting mixes include New Zealand sphagnum moss or various grades of fir bark.Steps for Repotting Orchids
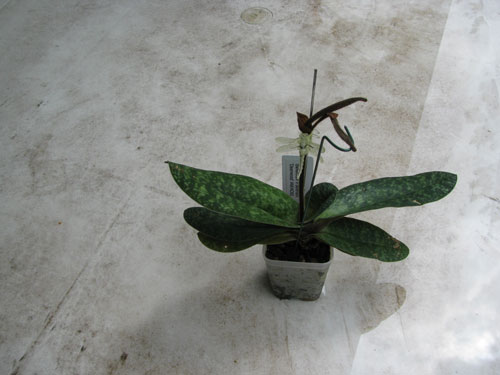
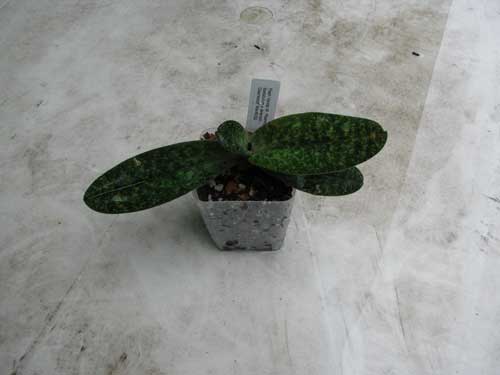
This Paphiopedilum is ready for repotting. It has outgrown its pot, just finished blooming, and new growth is just beginning at the base of the plant.
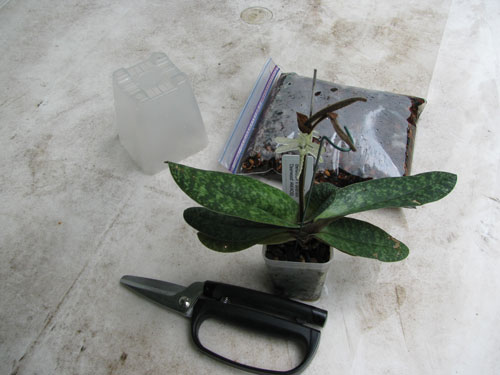
I've gathered the materials I need for repotting orchids: a new pot, a bag of potting mix that I've soaked in warm water (only necessary for sphagnum moss, but a good idea in general), and a set of sterile clippers I soaked in a bleach solution to avoid spreading orchid diseases.
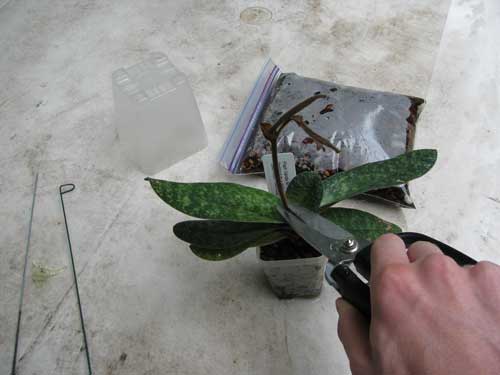
I removed the supports on the old flower stem, and am now trimming it off with the sterile pruning shears. Pruning orchids should always be done with sterile tools.

When removing the nametag, be sure to place it someplace where you won't lose it! If you lose it and forget, you'll be faced with the difficult task of identifying an orchid.
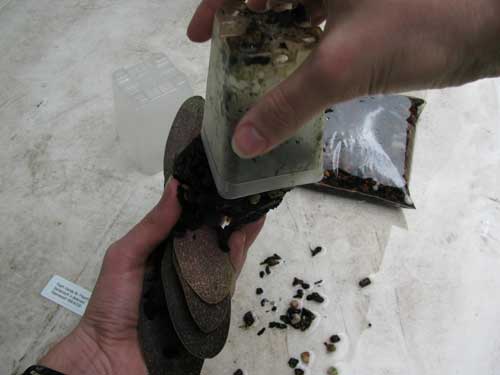
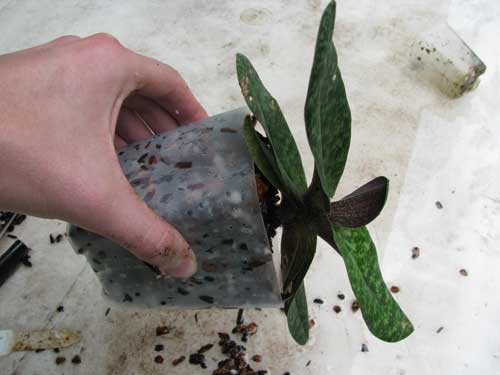
The next step in repotting orchids is to get the plant out of its pot. Turn it upside down, grab the base of the plant, and gently pull it out. It can help to squeeze the sides of the pot firmly a few times to loosen roots from the sides. With clay pots, you may have to run a table knife around the inside edge of the pot or break the pot. The idea is to damage the root system as little as possible.
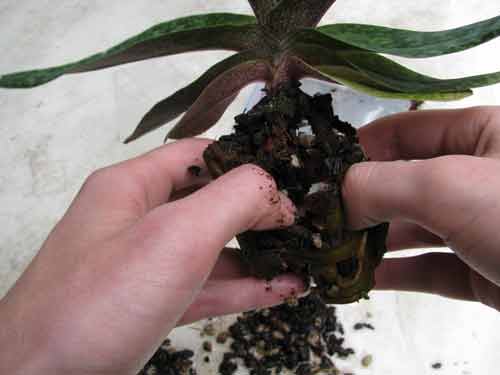
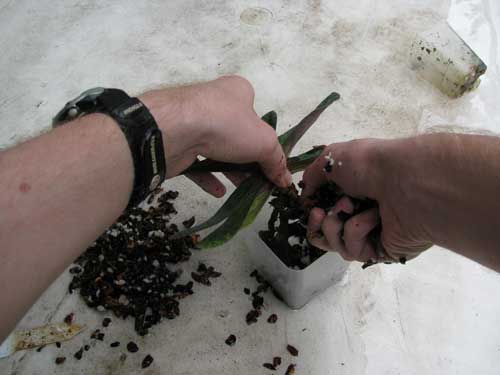
Separate the orchid's roots from its potting mix, trying not to damage the brittle roots. It's a gradual process of teasing it all apart with your fingers. You can also use a jet of water from a hose to help with this sometimes. (I like to water the plant with warm water beforehand, otherwise my hands can get quite cold during this step.)
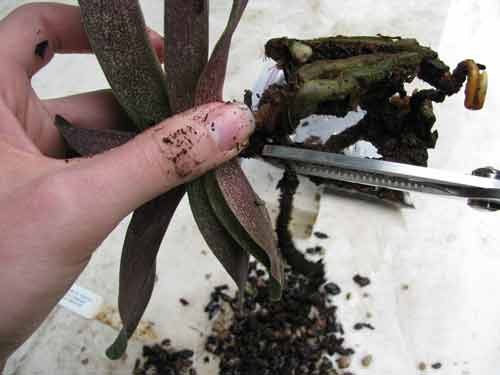
Prune off any dead orchid roots. (They'll be the soft and mushy ones, and skinny shriveled ones with a "skin" that falls off easily.) Again, use a sterile tool. Orchid viruses are incurable, so you don't want to spread them or any other disease.
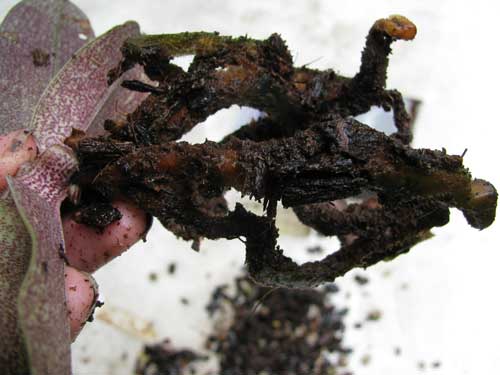
These are the orchid's roots, ready for the new pot. This plant has a healthy root system.
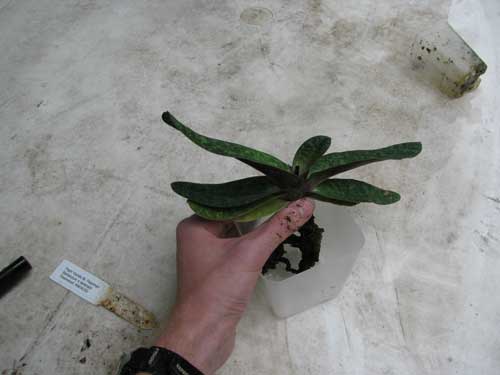
Position the orchid in the center of its new pot. If a sympodial orchid's rhizome is growing in just one direction, place old growths against the edge of the pot so that the lead (where new growths emerge) has as much room as possible.
Fill in the new potting mix. In this case, I'm using a mixture of fine fir bark, charcoal, and perlite. (What potting mix to use depends on the type of orchid.) Make sure not to leave any open voids in the potting medium; it should fill in all the way around the roots, down to the bottom of the pot. (Sometimes the roots catch the mix well enough to make this tricky.)
The potting medium should be packed densely enough that the plant is stable in its pot. As a demonstration, I've turned the plant on its side to show it doesn't tip over. You don't want it tippy, as the plant's root system will be unhappy.
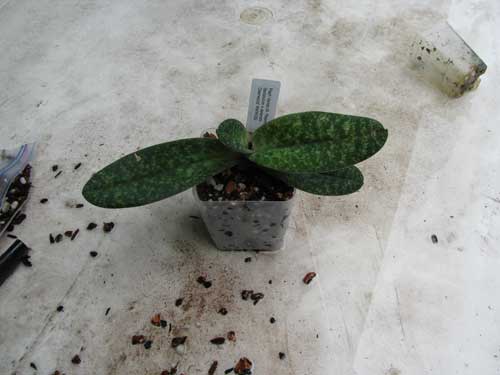
Remember to replace nametags after repotting orchids! Identifying orchids that have lost their nametags is tedious.
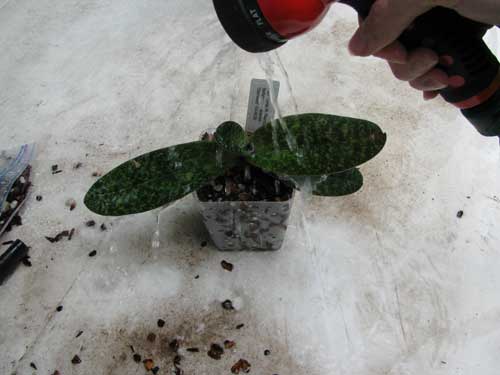
Water the orchid after repotting. Many orchidists like to water sparingly for the next couple weeks to encourage root growth, but I seldom find this necessary. Fertilizing newly-repotted orchids may be slightly stressful, so hold off for a week or two.
We're done! The plant is ready to be returned to its growing area. Some orchidists keep the lighting a bit dim for a couple weeks in the hope of reducing stress to the plant.